Guide
Viewer basics
Updated August 19, 2026
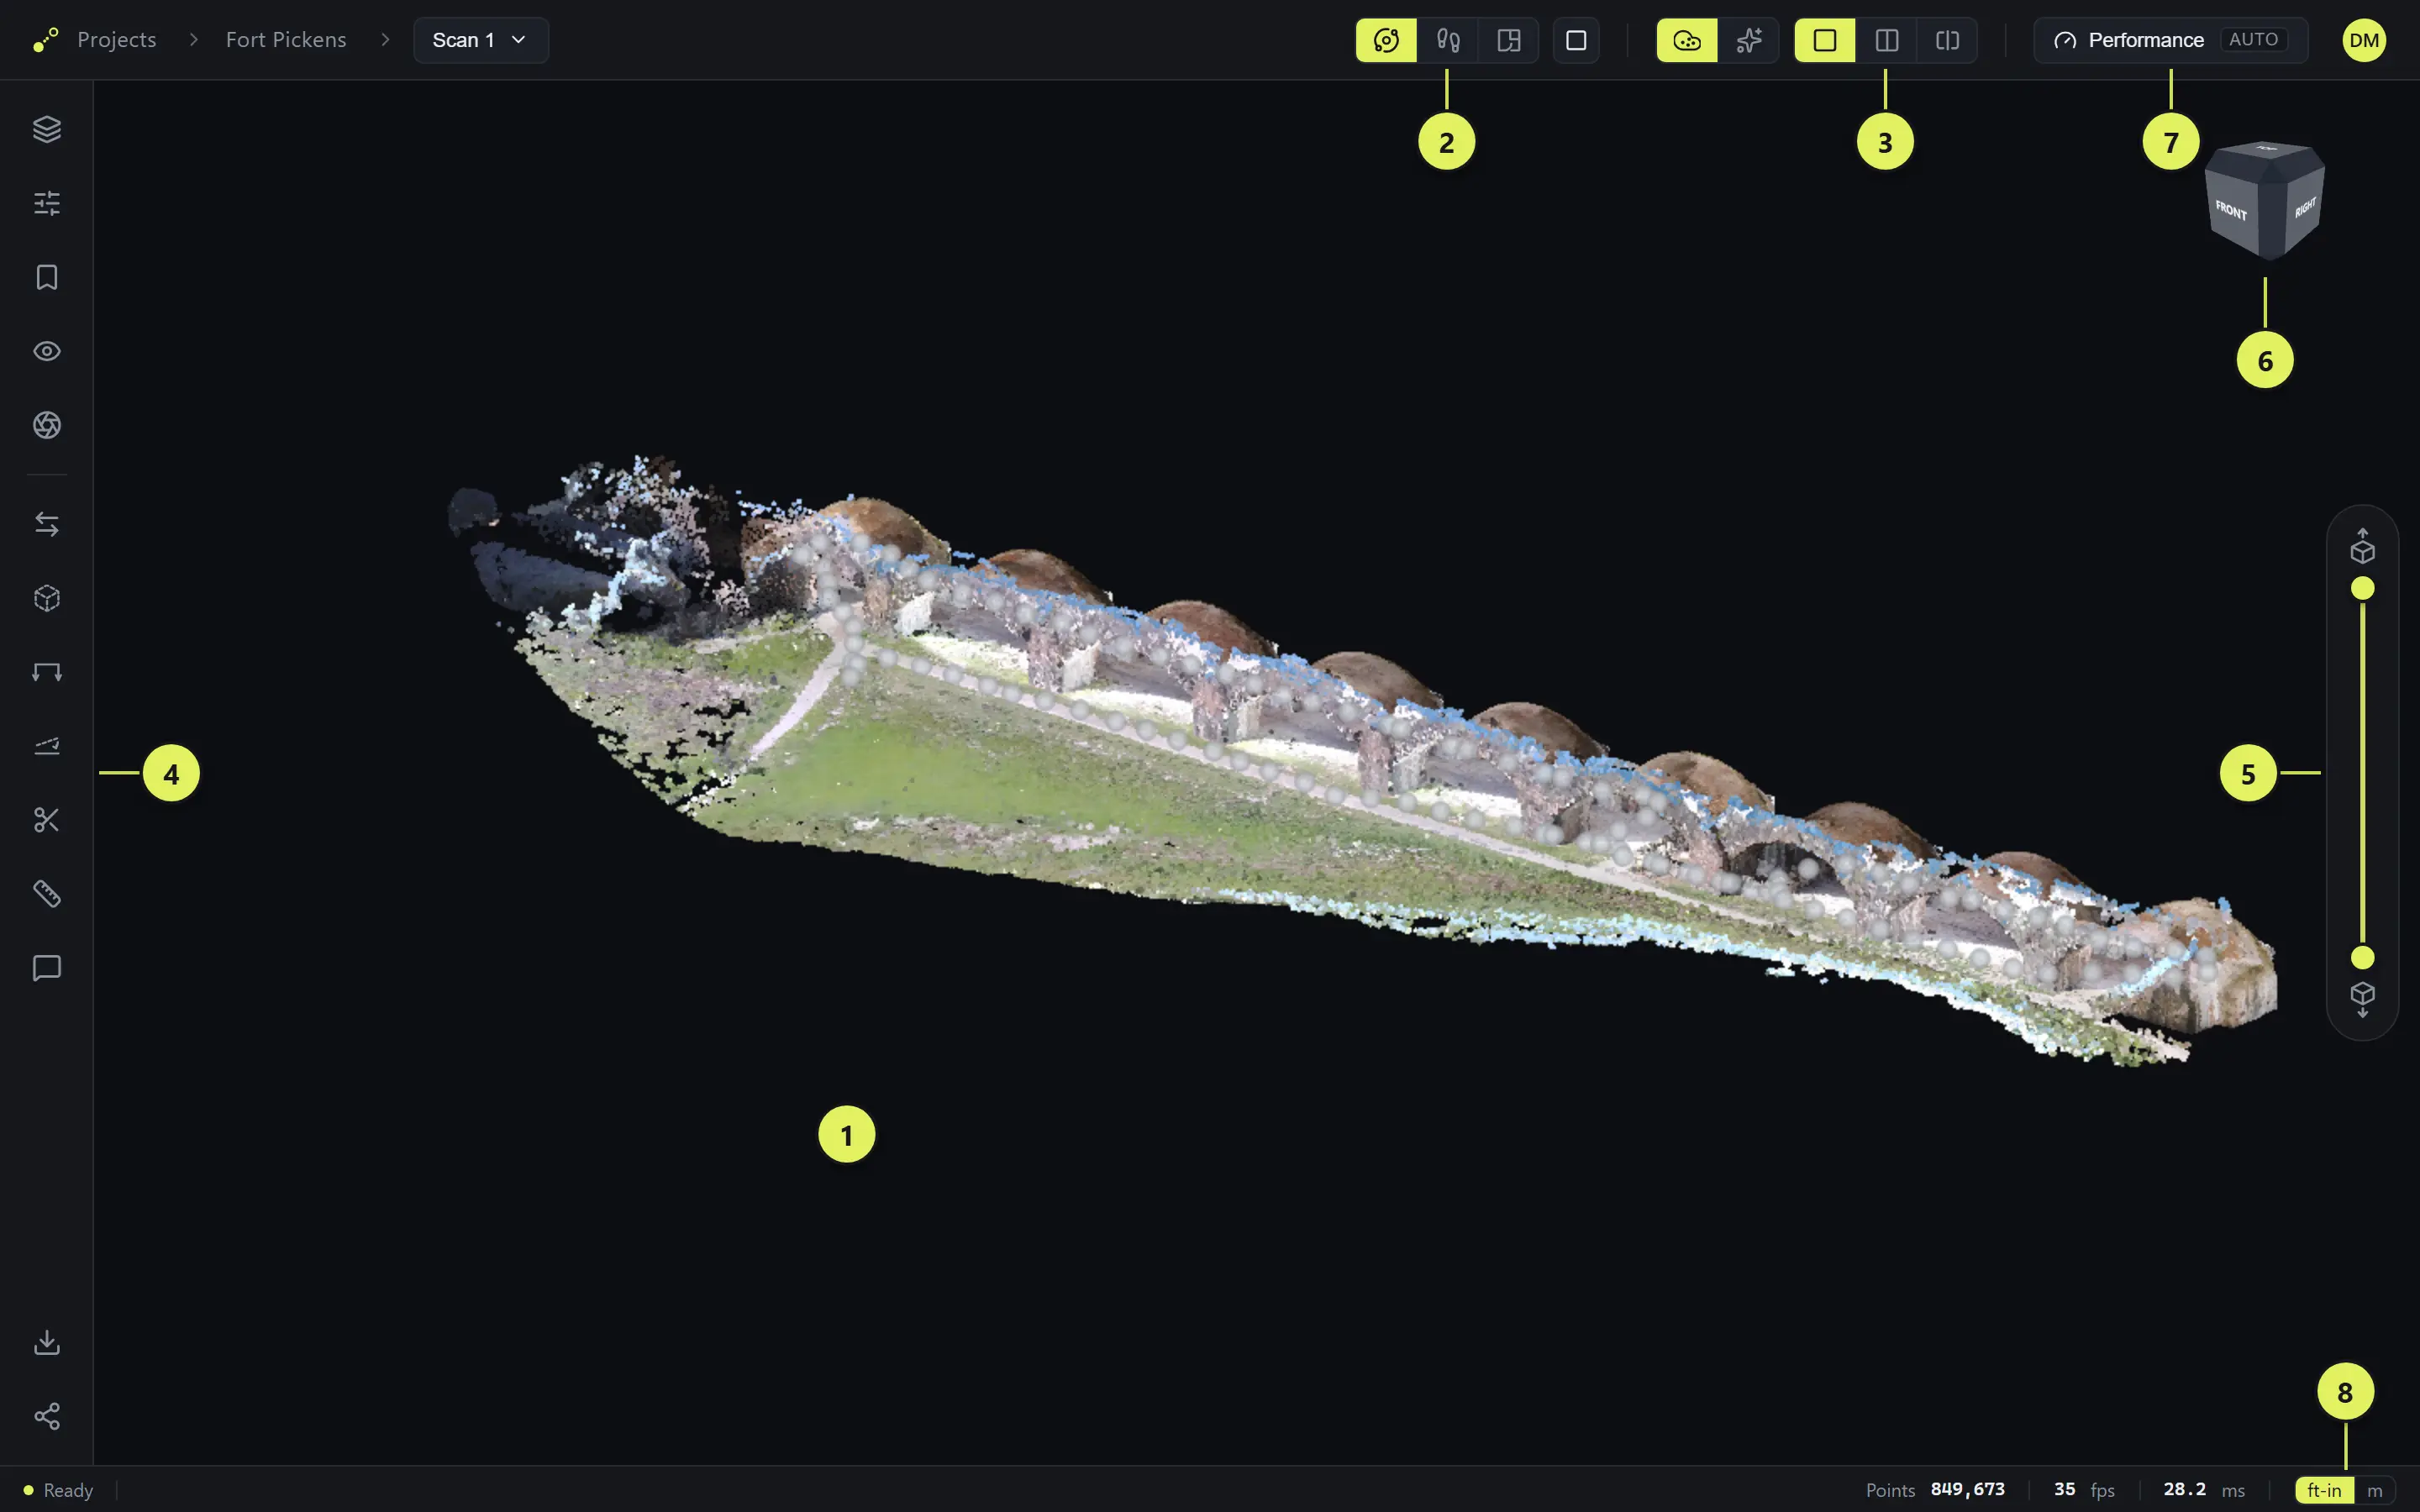
The viewer at a glance — each number is a section below.
Look around
The scene itself. Drag to orbit. Scroll to zoom — the view zooms toward your cursor, so point at what you want to get close to. Right-drag to pan. Double-click a point on the scan to make it the centre of rotation: rings mark it, and orbiting turns about it until you pan, zoom or double-click somewhere else. Double-click the middle button to fit the whole scan.
Three ways to view: Orbit, Walk, Plan
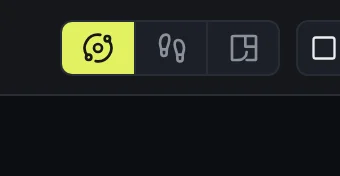
The mode control at the top switches how you move. Orbit — inspect from anywhere; the default. Walk — eye level inside the scan: look with the mouse, move with W A S D, jump anywhere from the minimap in the corner (each dot is a station). Plan — locks the view overhead: your floor plan, and where plan-based tools like sections and scan squaring work.
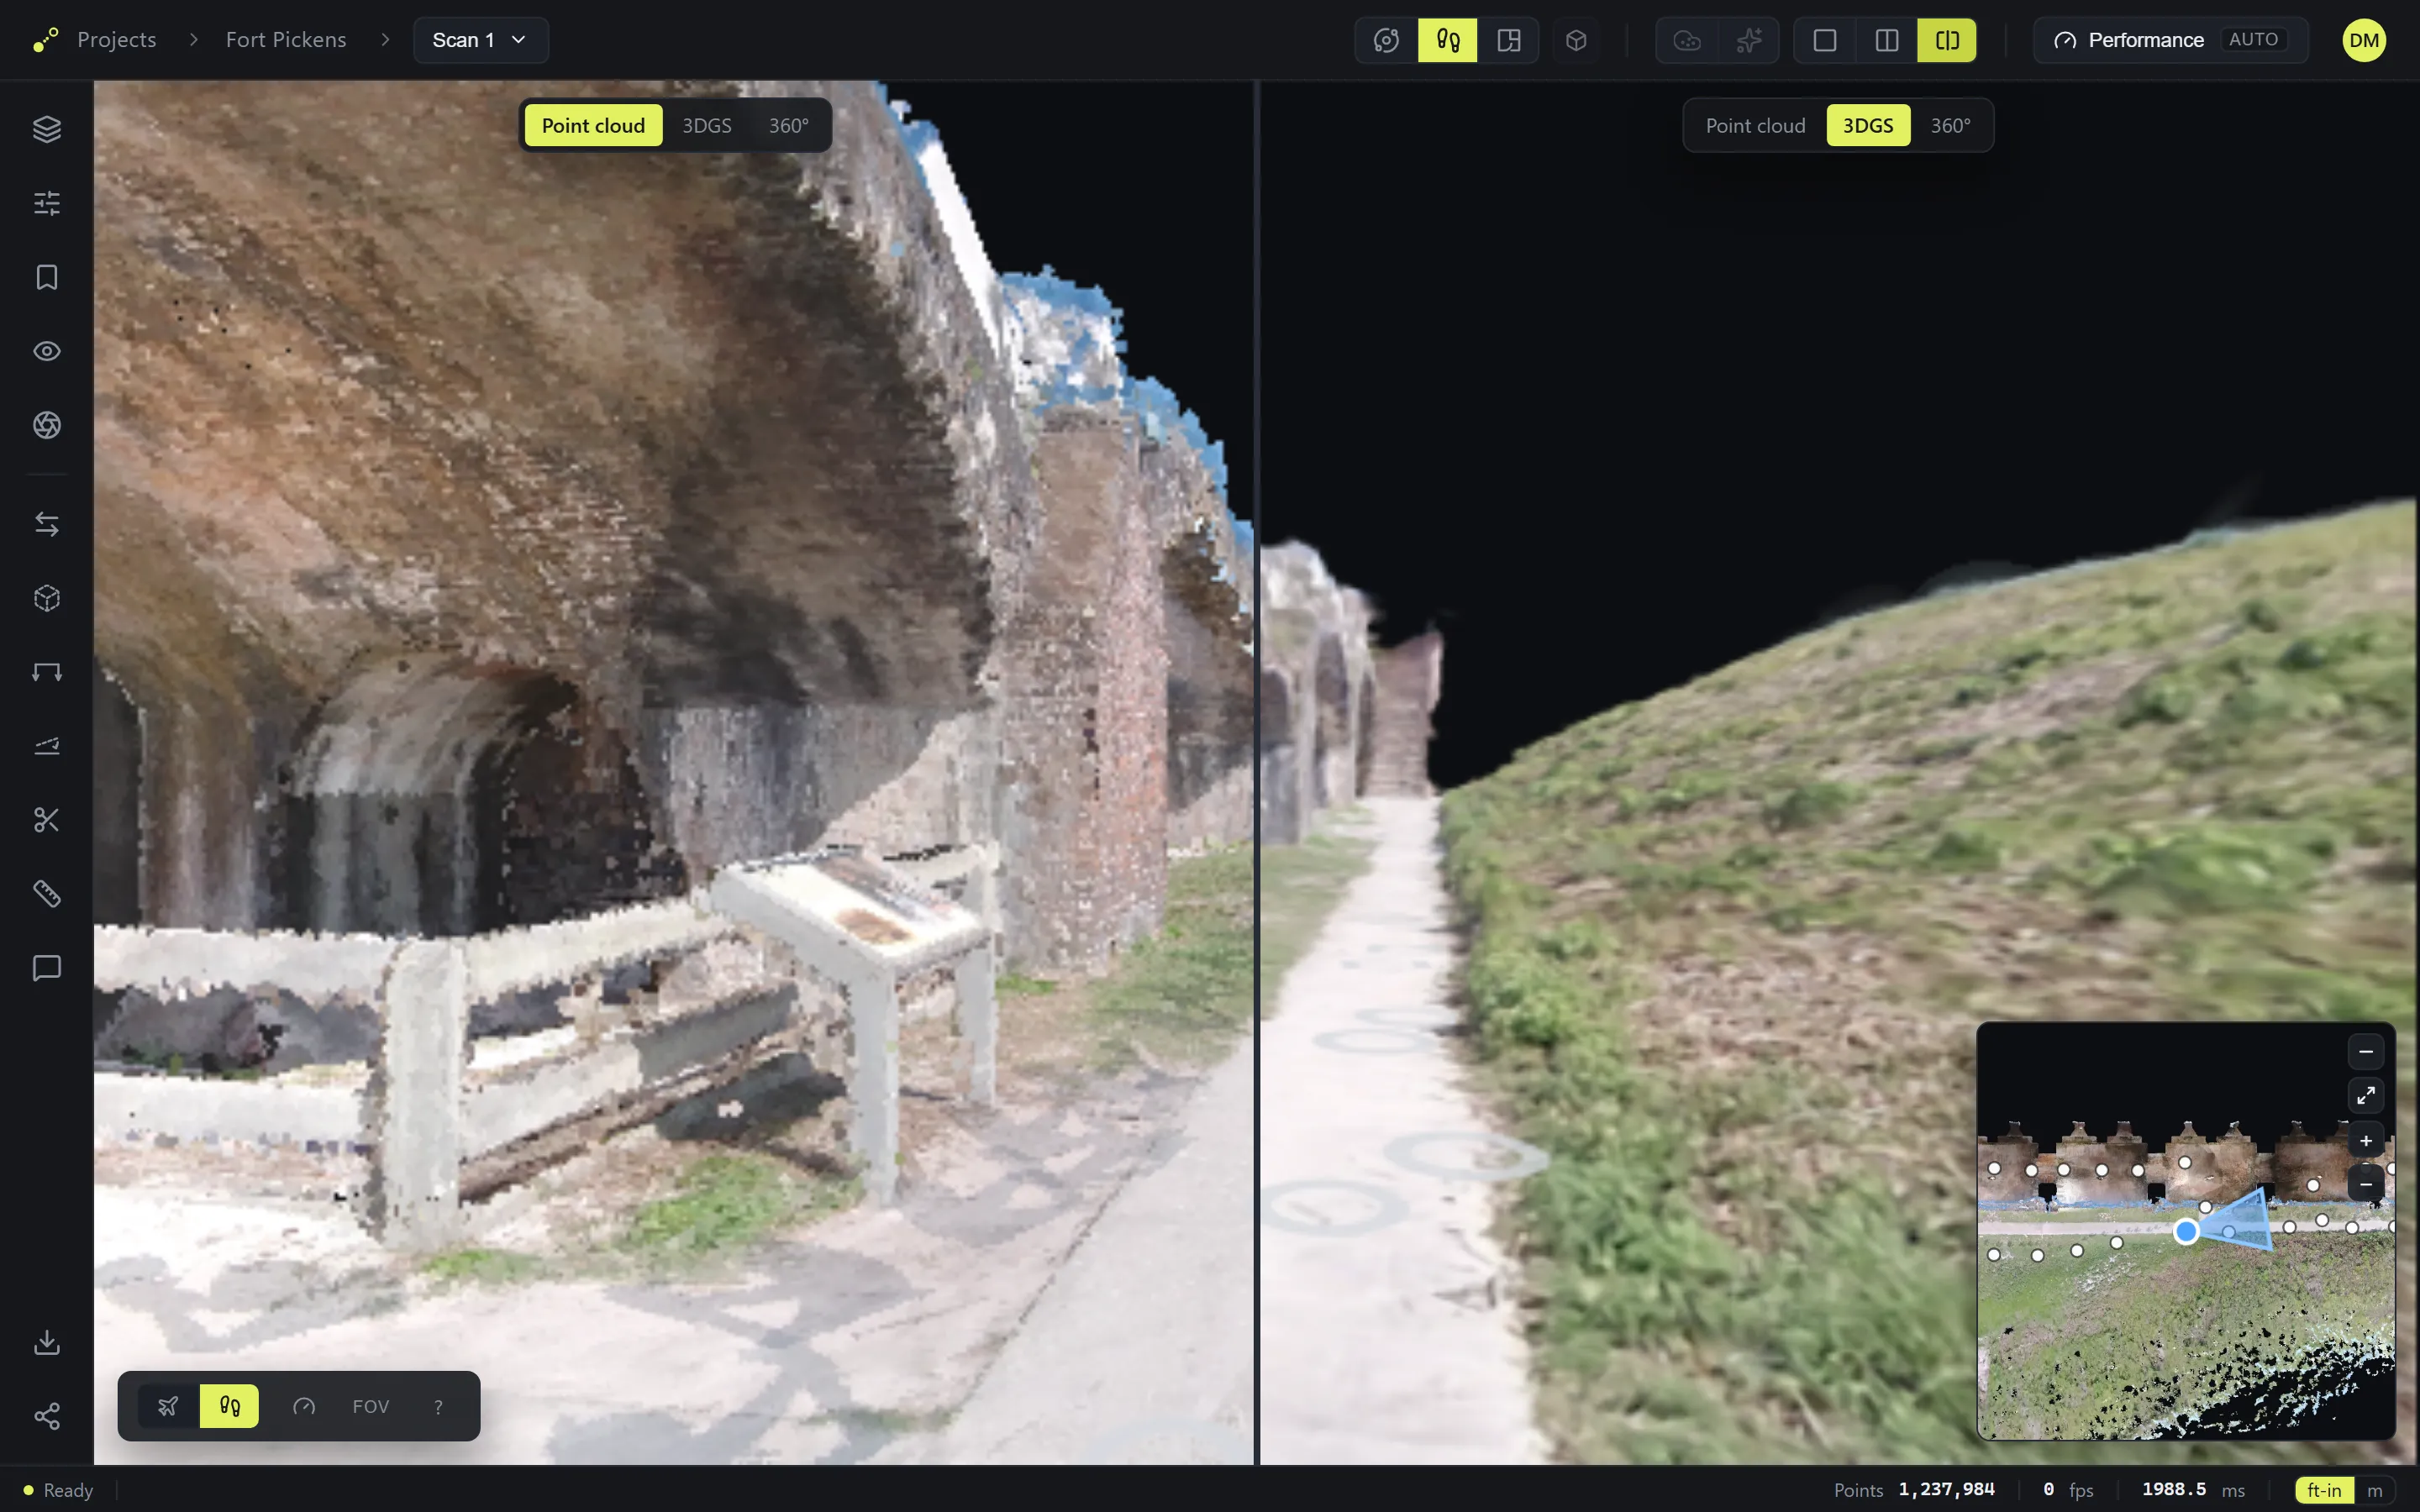
In Walk mode a small bar adds Fly (free movement) vs Walk (level, at eye height) and a speed control — or hold Shift and scroll to change speed.
Point cloud, splat, or both
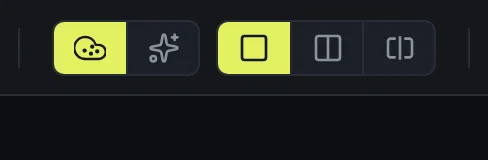
The view controls at the top center. The left pair picks the layer — point cloud or splat. The right group picks the layout: single, split (side by side, one camera), or curtain (drag a divider across one view). Next to them, the projection toggle switches between perspective and orthographic — use orthographic for true plans and elevations.
Curtain is the fastest way to compare: one view, one divider — point cloud on one side, splat on the other. Drag the divider across; double-click it to snap back to the middle.
The tool rail
Every panel and tool lives on the left rail — hover any icon for its name. The top group opens panels, the working tools sit below the divider, and Export and Share are pinned at the bottom. Share-link visitors see a shorter rail: the editing tools are yours alone.

The top three panels up close — Datasets also switches between a project's scans:
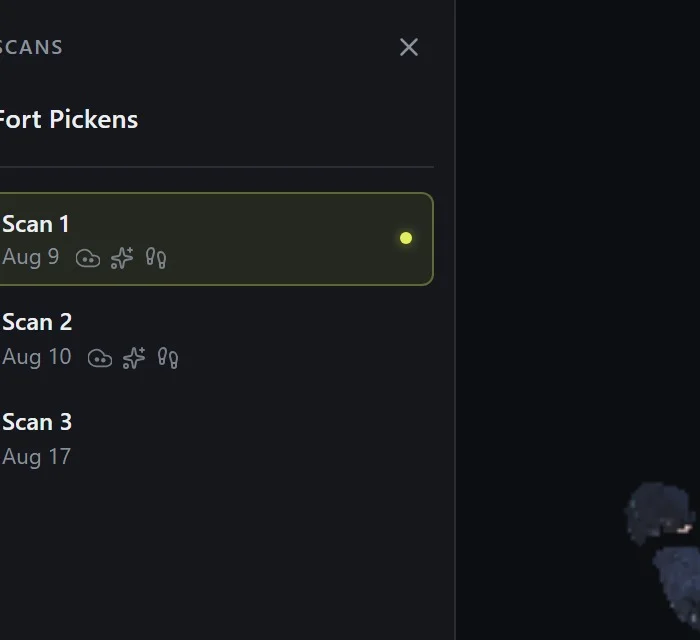
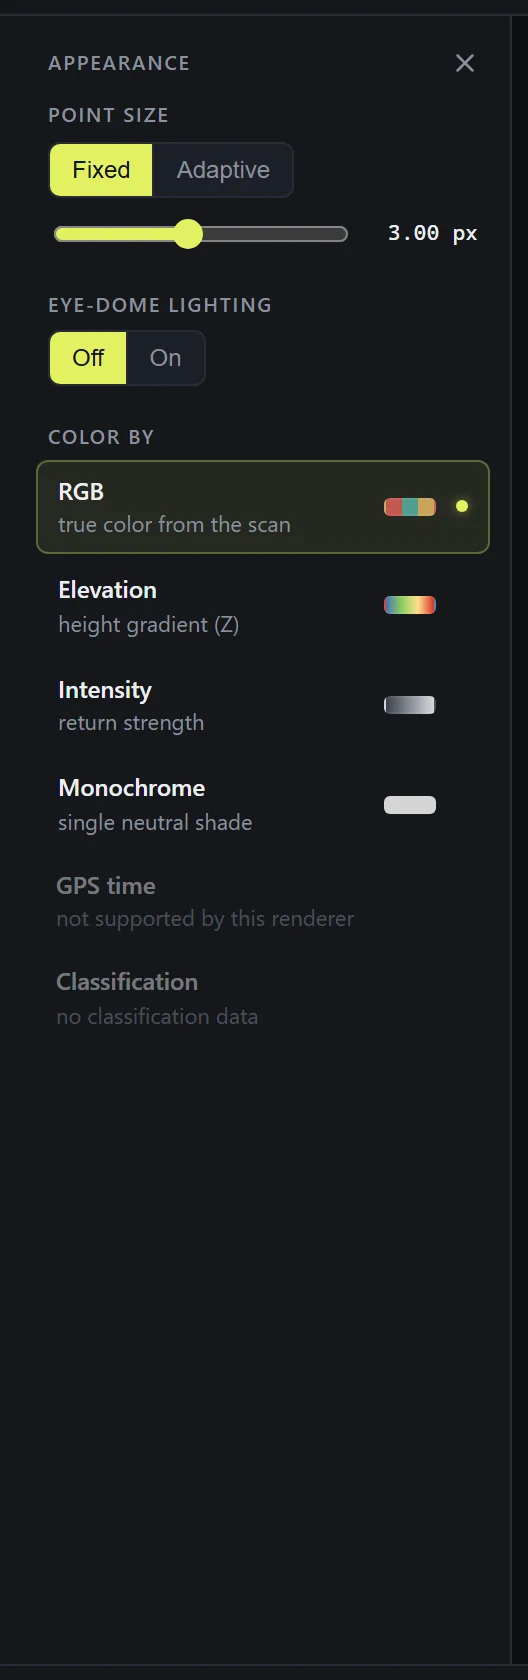
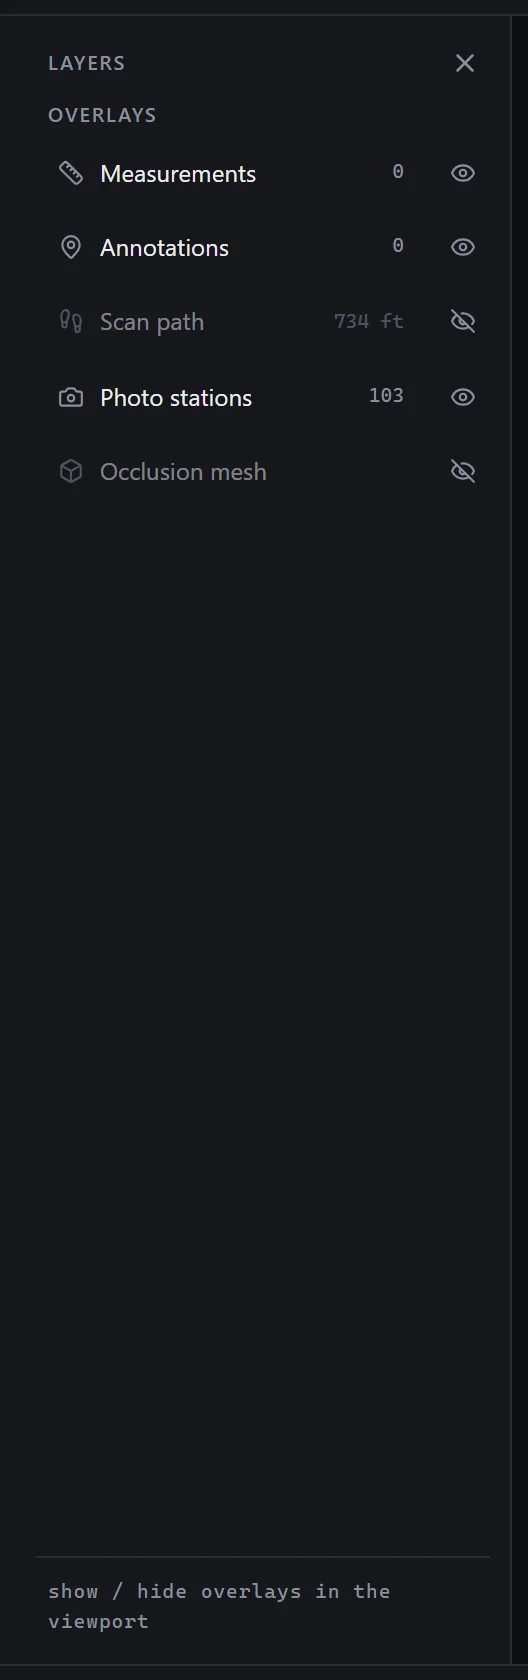
The working tools each have their own guide: Views & sections, Measuring & notes, and Scan cleanup.
Height cut
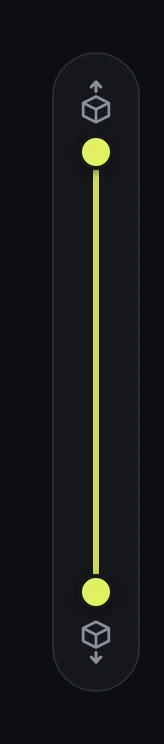
The slider on the right edge cuts the model by height. Drag the top handle down to remove the ceiling and look into rooms from above; drag the bottom handle up to drop the floor. The buttons at either end reset each cut.
View cube
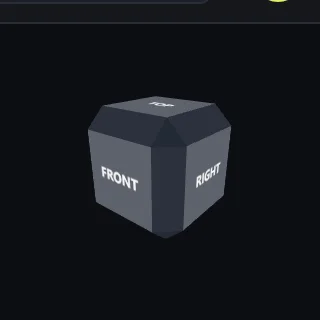
Top right. Click a face, edge, or corner to snap the view — Top plus orthographic projection is your floor plan. The arrows step between faces, the roll buttons turn the view 90°, and the home button returns to the start view.
Render quality
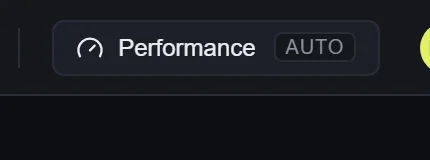
Top-right corner. Quality manages itself — the control shows the current tier and adapts to your device. Open it to pick a tier yourself; lower tiers run smoother on weaker machines.
Status bar and units
The bar along the bottom shows what's loaded — point count and frame rate. The ft-in / m toggle at its right end switches units everywhere, measurements included.
