Guide
Views & sections
Updated August 24, 2026
The floor plan
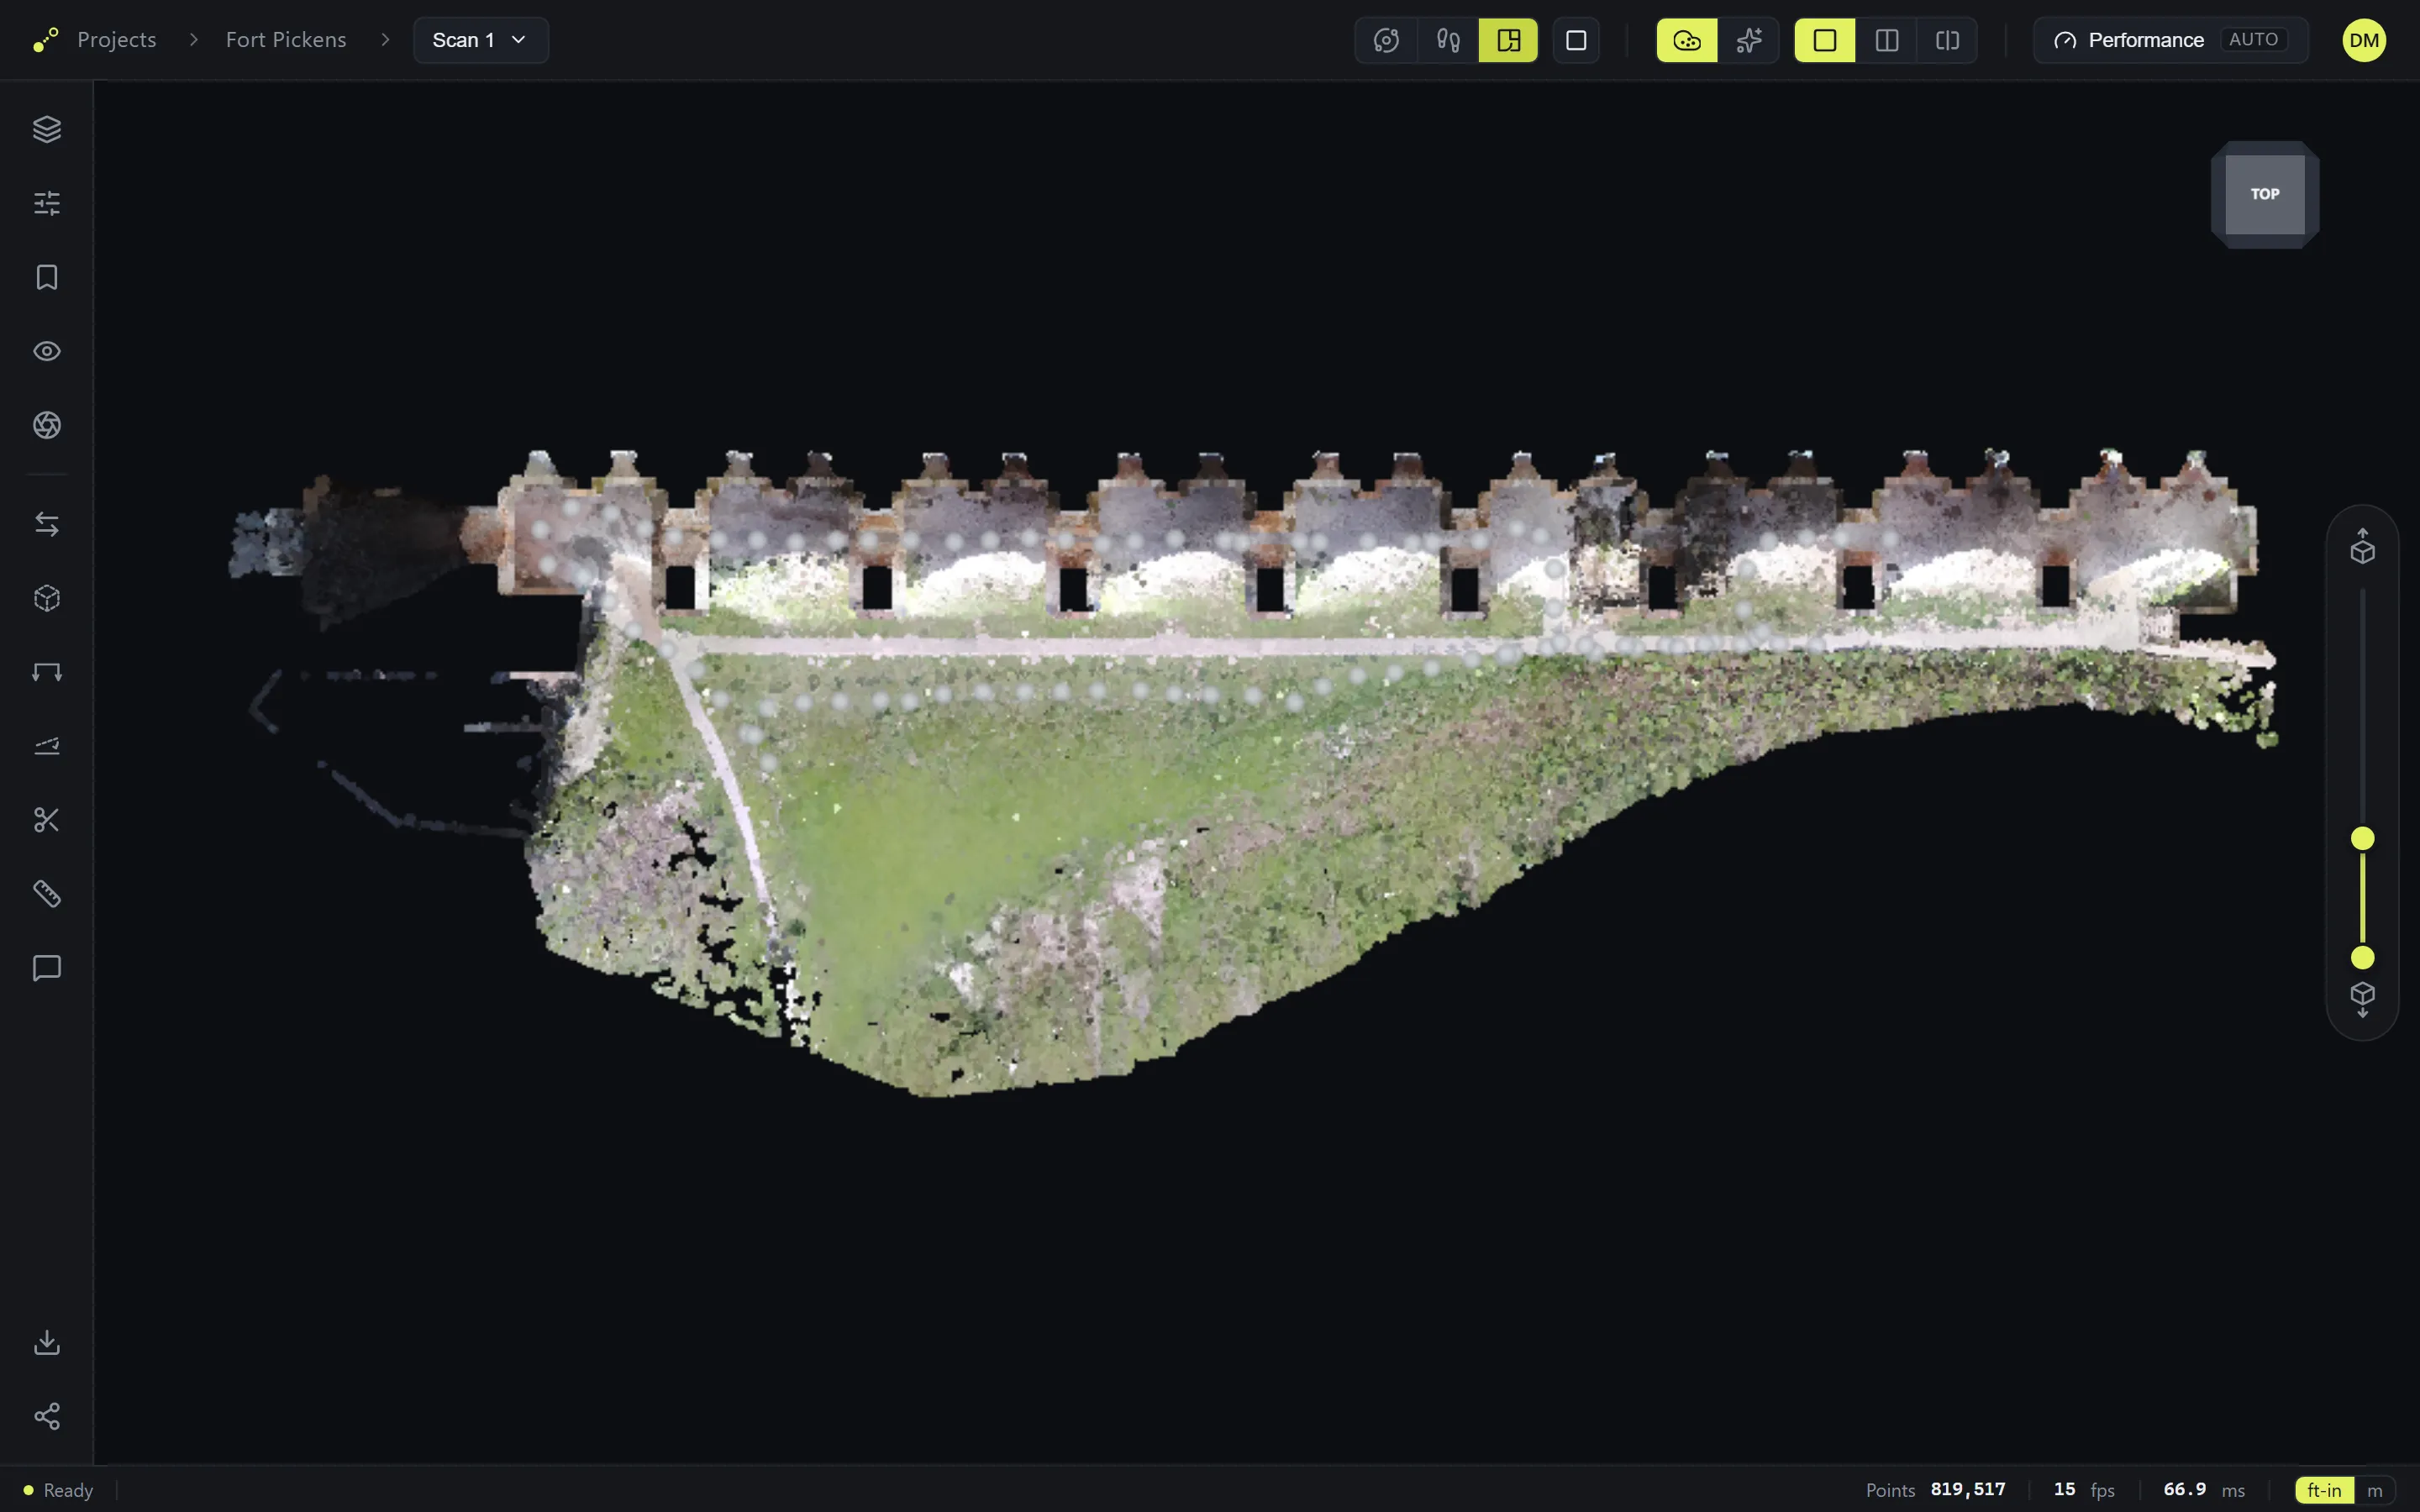
Switch the mode control to Plan — the camera locks overhead and the scan becomes your floor plan. Drag to pan, scroll to zoom. On a multi-level scan a level bar (1 · 2 · All) sits in the bottom bar: each level gets its own floor plan, and Plan opens on the level your camera was in. This is also where the drawing tools work: sections and scan squaring both start from the plan.
Cut a section
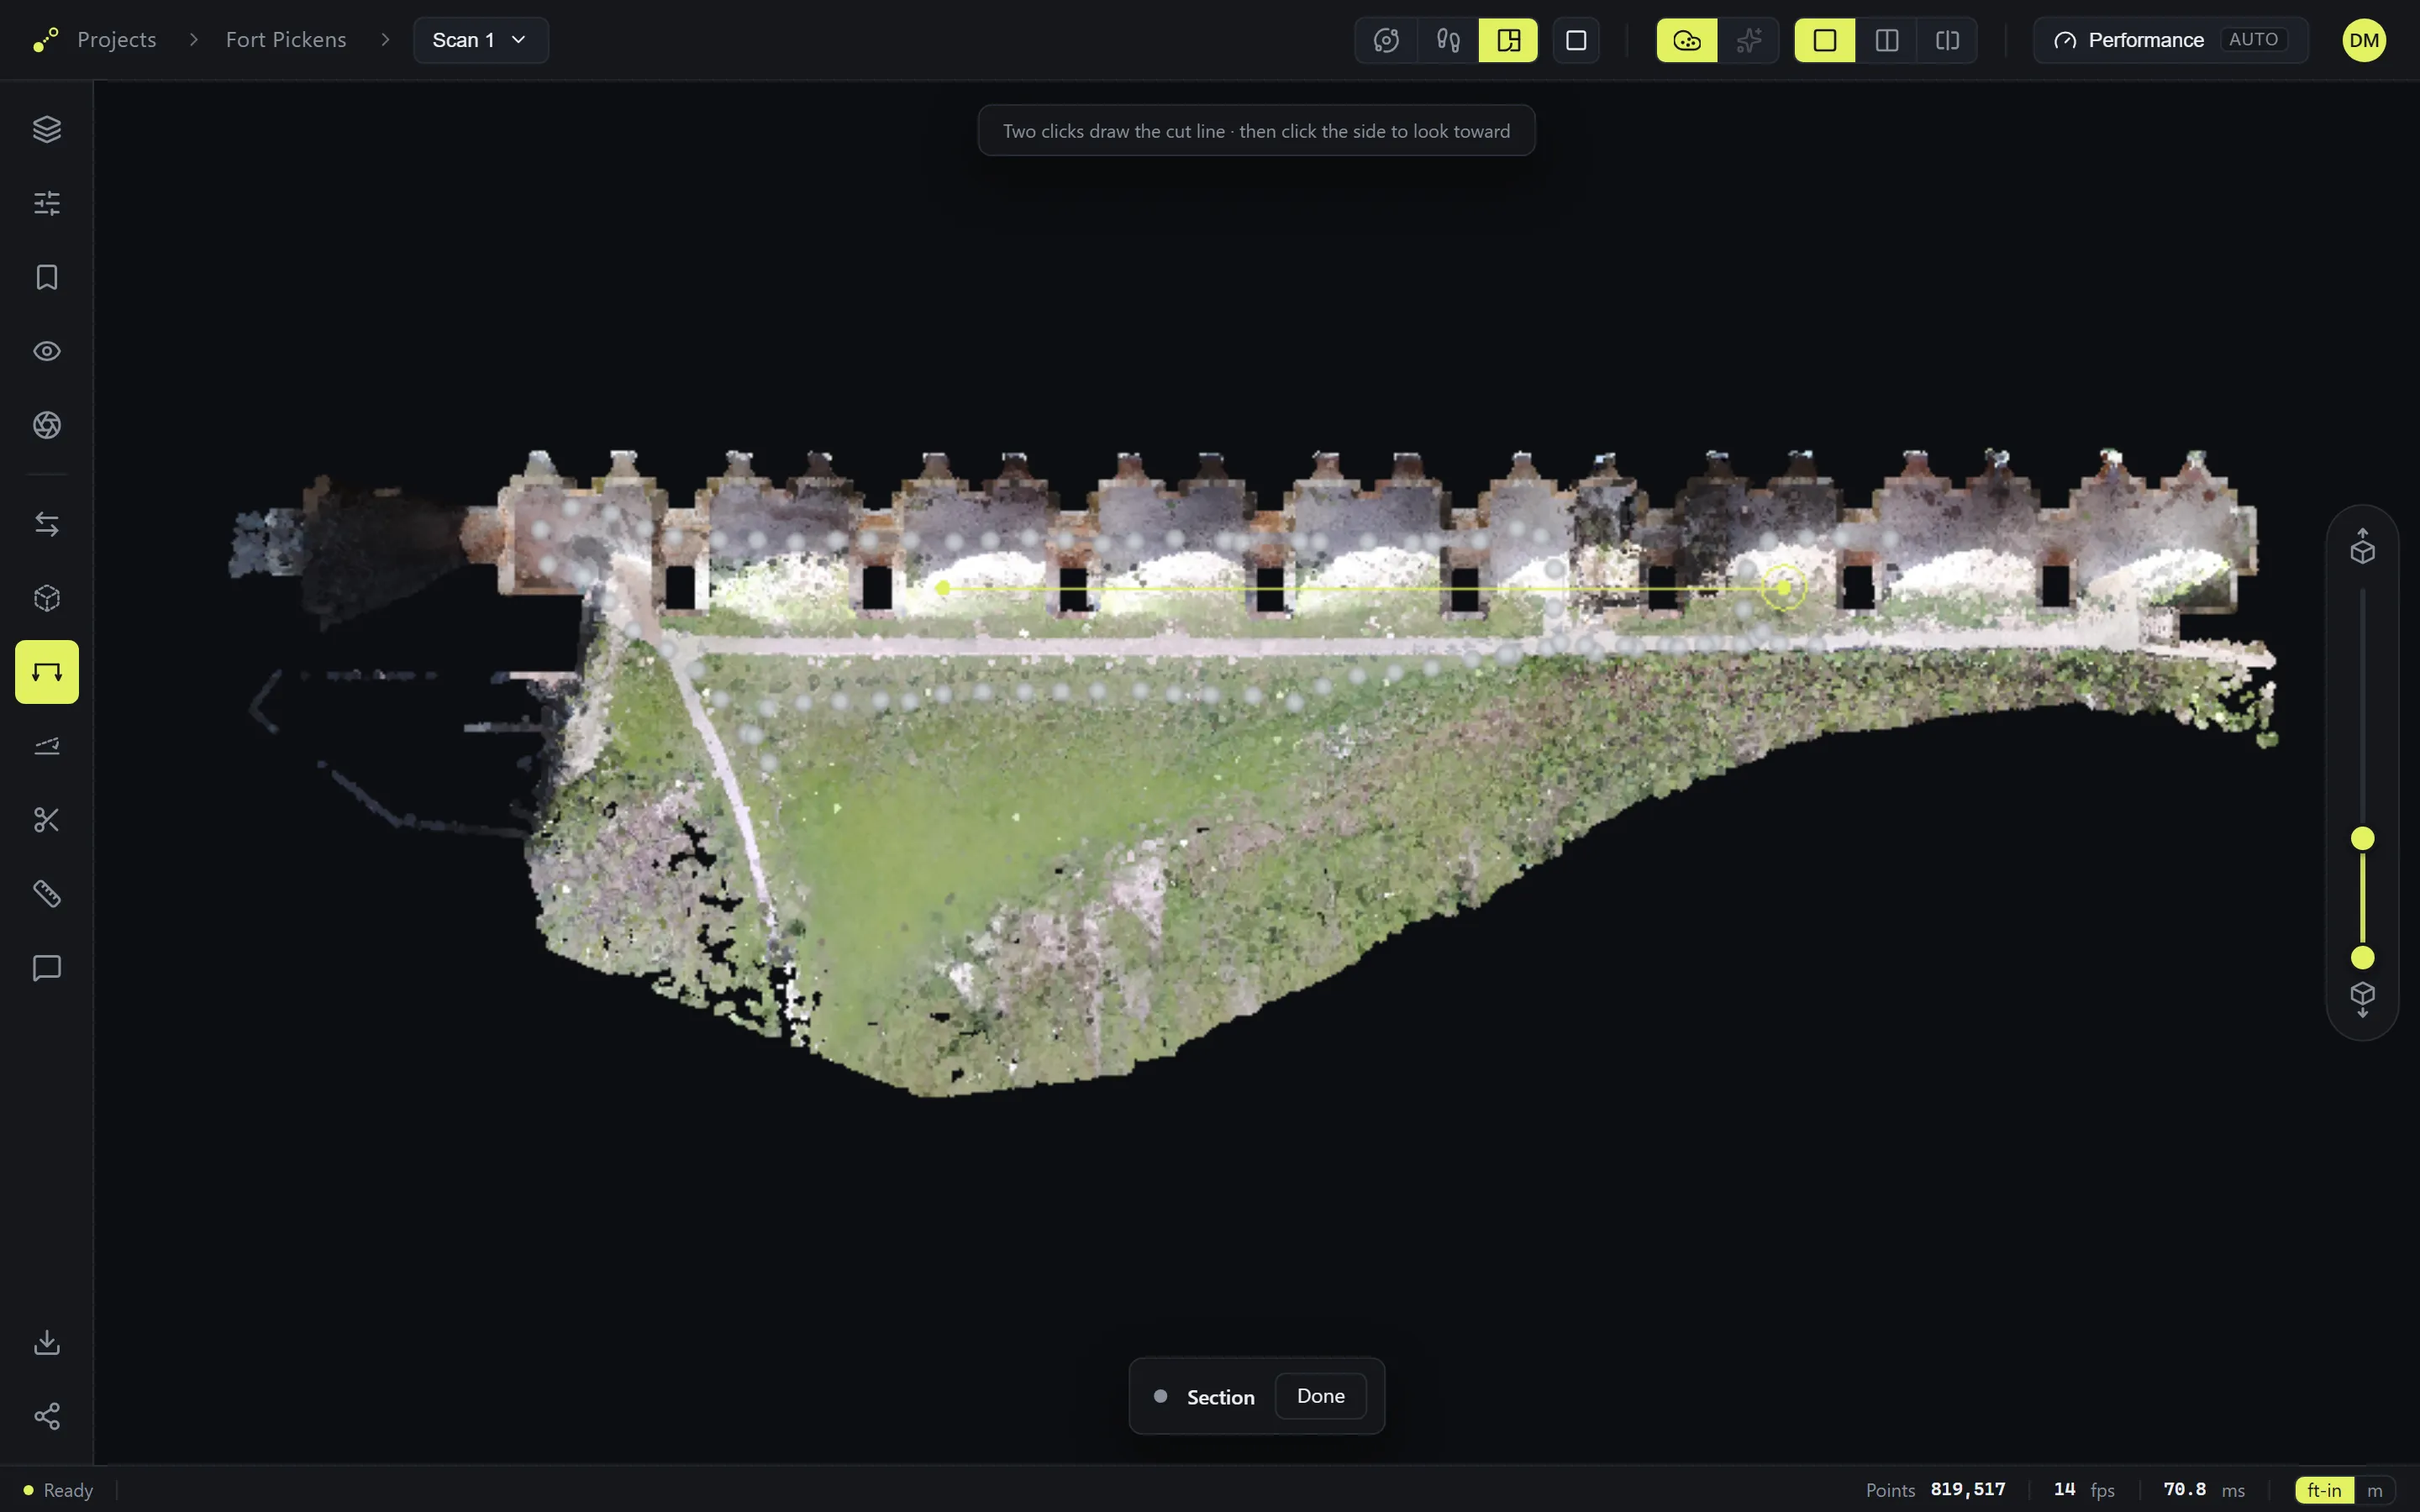
In the plan, arm the Section tool on the rail. Click twice to draw the cut line, then click once more on the side you want to look toward — the viewer turns your cut into an elevation.
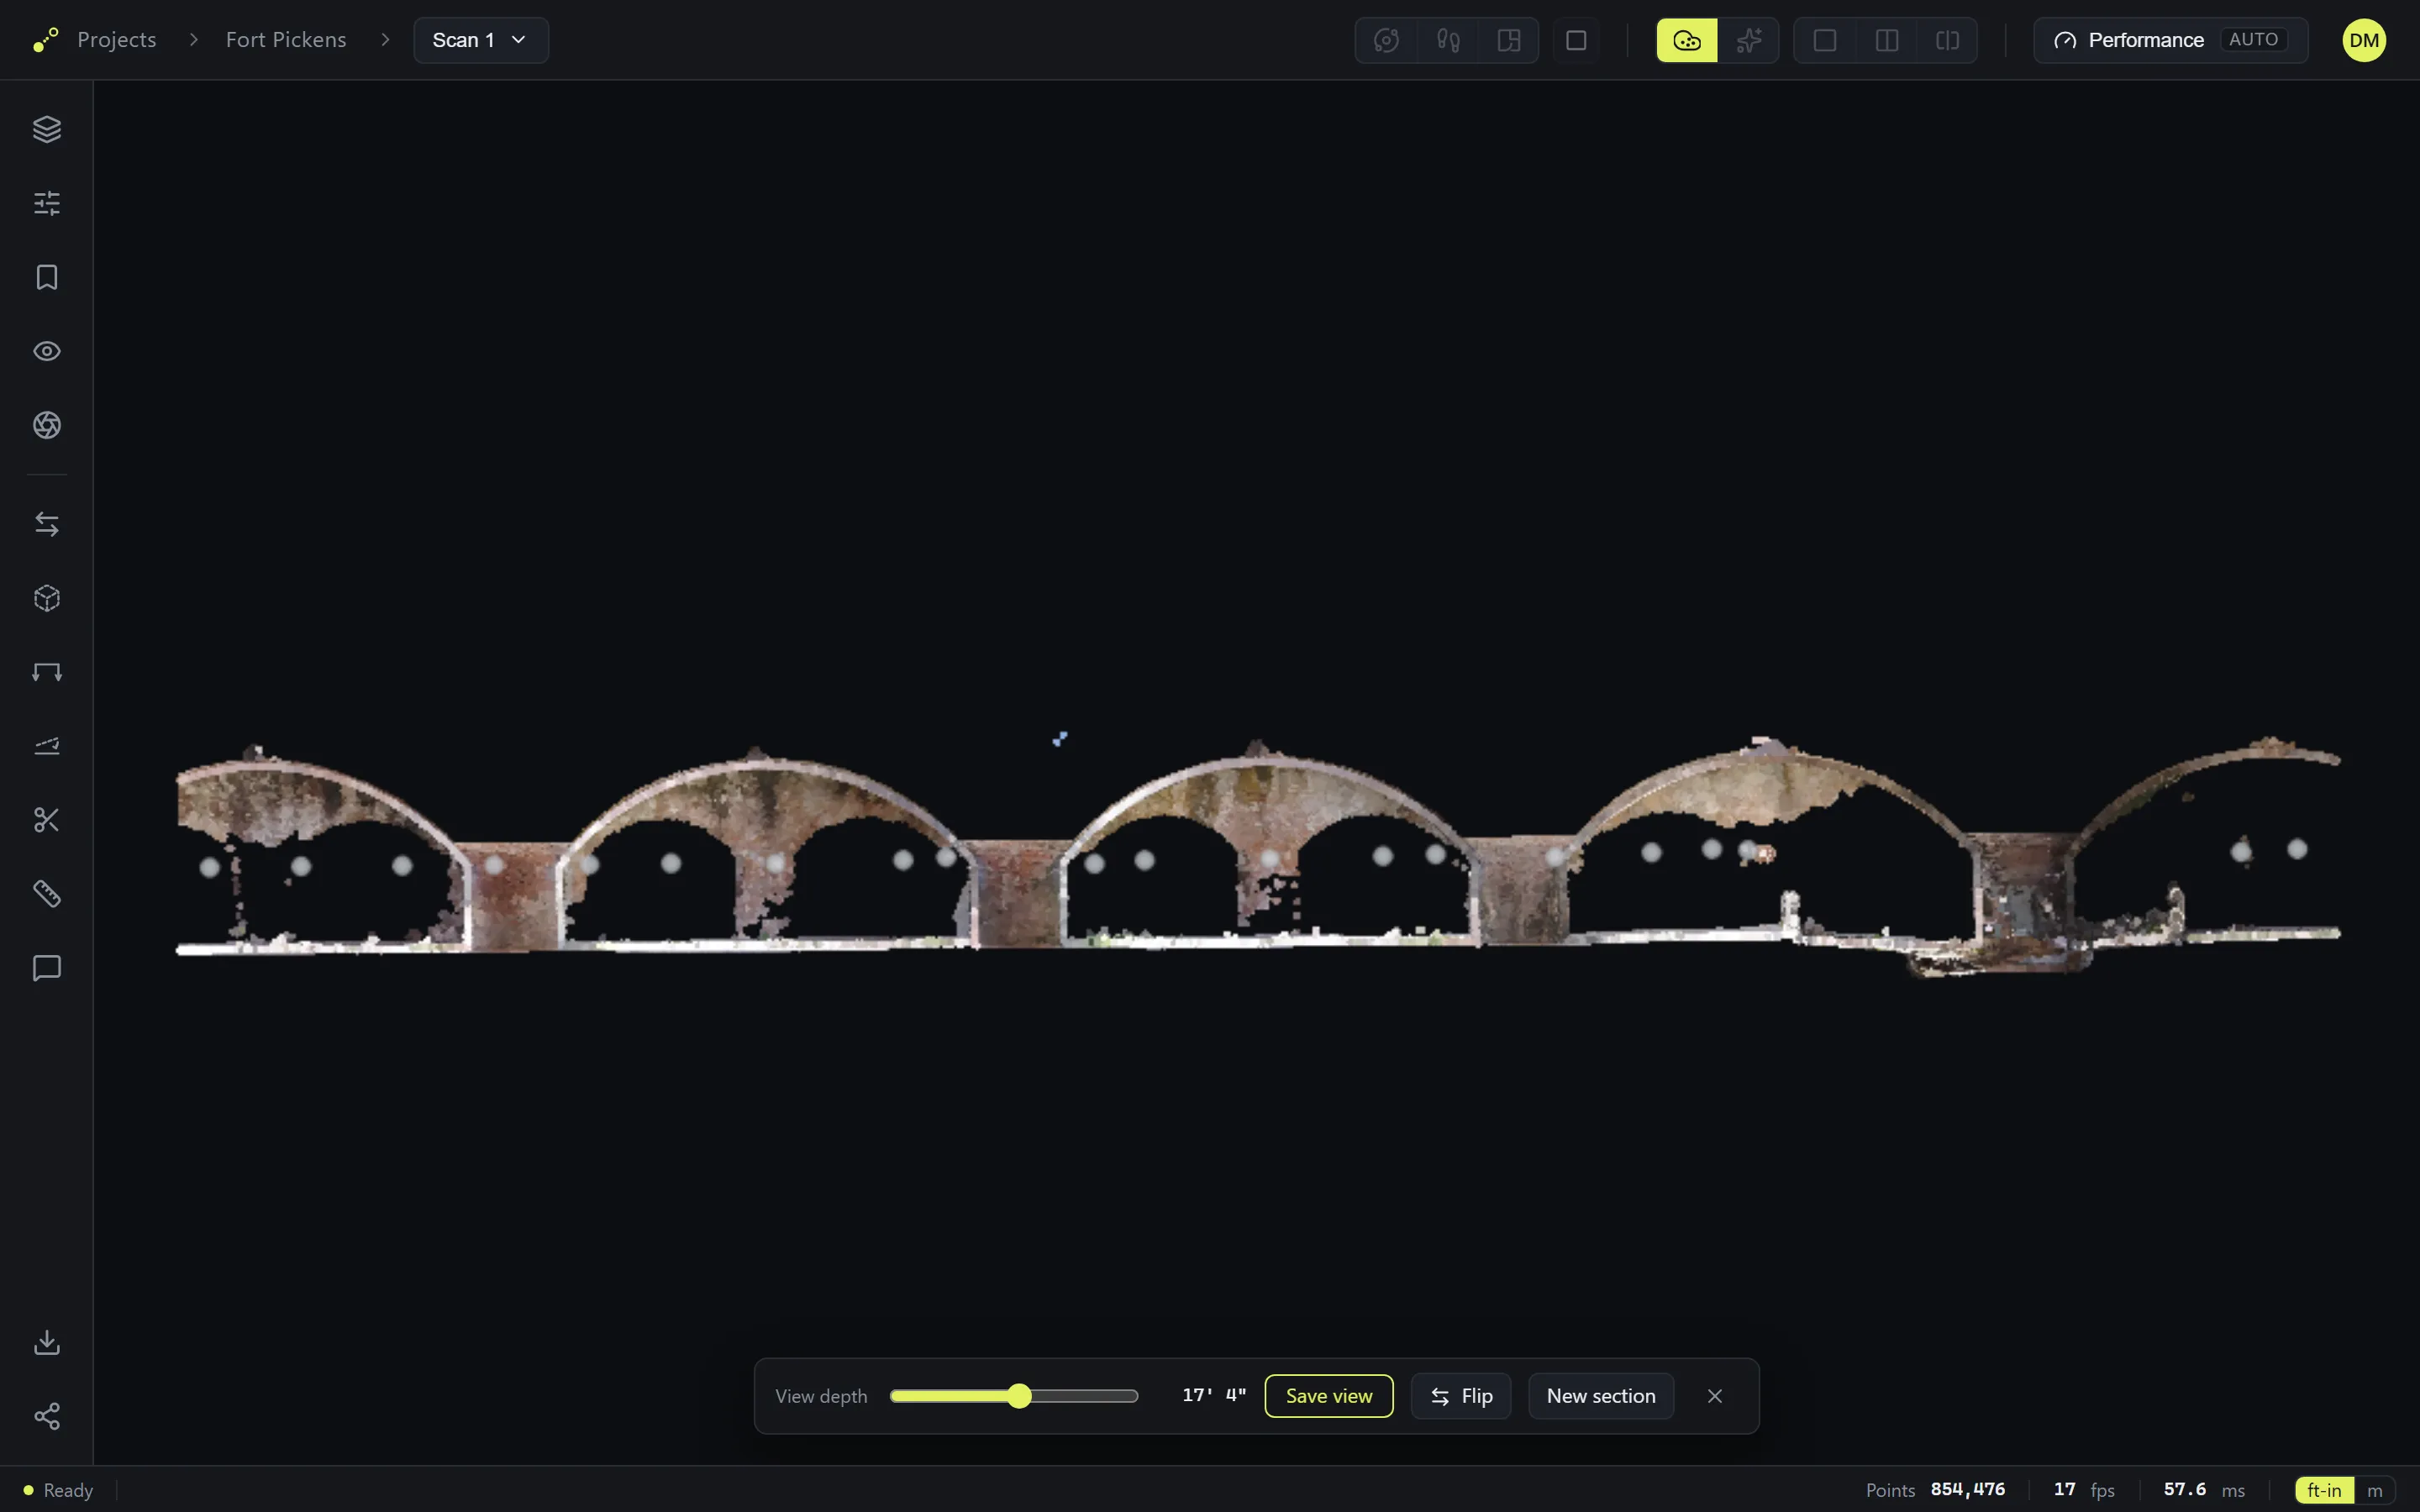
The elevation shows only a slice of the model — drag View depth to set how far past the line you see. Flip looks the other way, New section starts another cut, and Save view keeps this exact elevation in Saved views. The ✕ returns to the normal view.
The section box
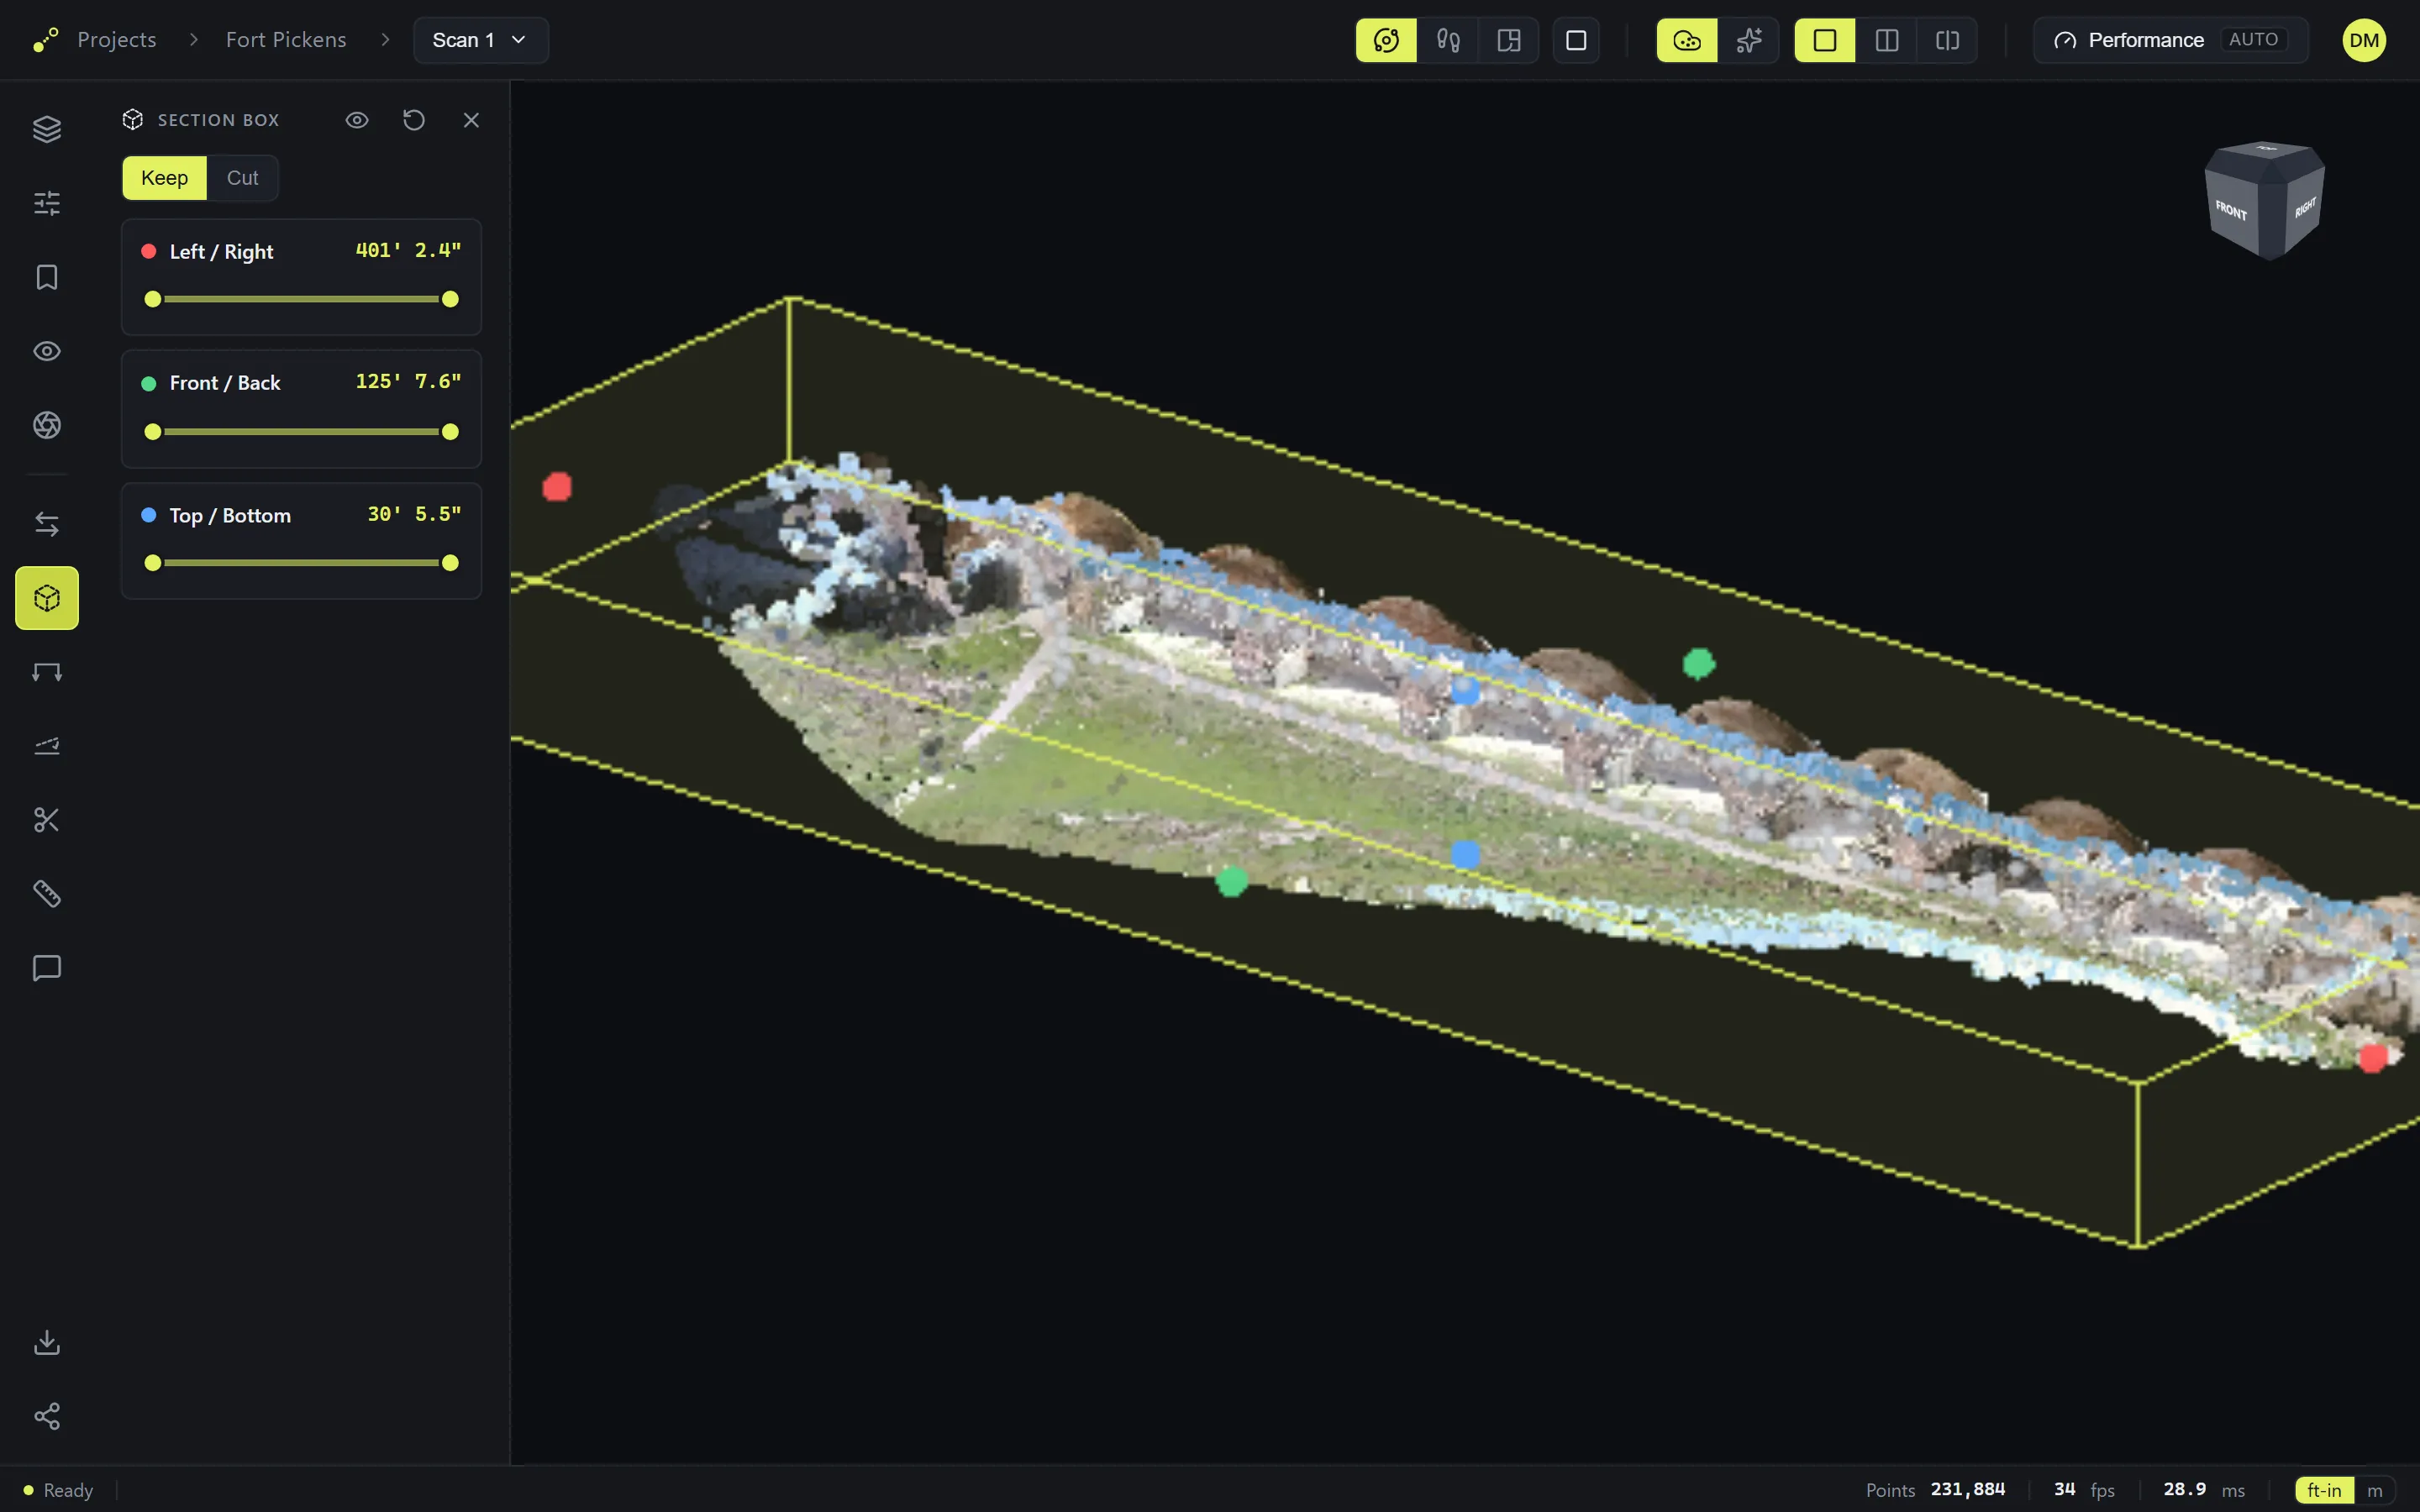
For a three-dimensional crop, use the Section box: a box you size around any part of the model, by dragging its faces or with the per-side sliders — each shows its real dimension. Keep shows only what's inside the box; Cut removes it instead. Reset brings everything back.
Saved views
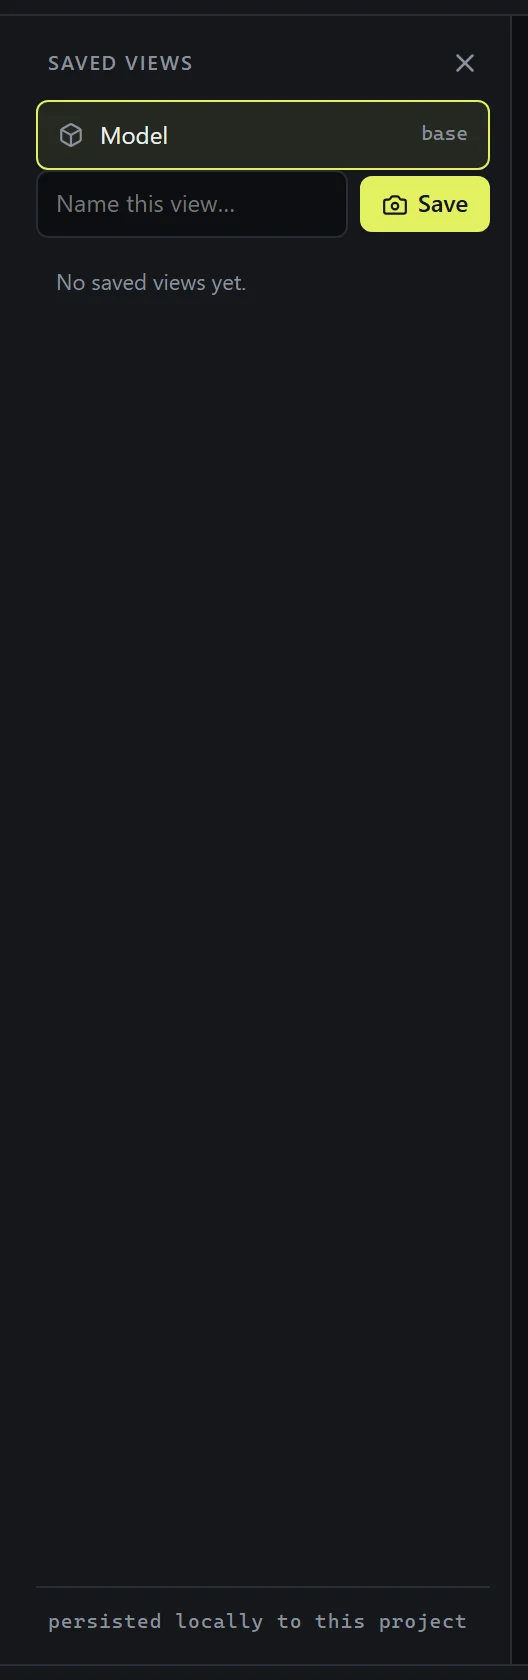
The Saved views panel (the bookmark on the rail) stores camera views you save and every section you keep — one click brings the exact view back, on any visit. Saved sections reopen with their cut and depth intact.